Yesterday, I promised to my guest Shivangi to share how to sharpen pictures in Lightroom.
First of all, you have to shoot camera RAW, that’s clear, I guess. A JPEG picture is only a fragment of bits compared to RAW so if you do any post-production work, you should definitely work with the maximum of information.
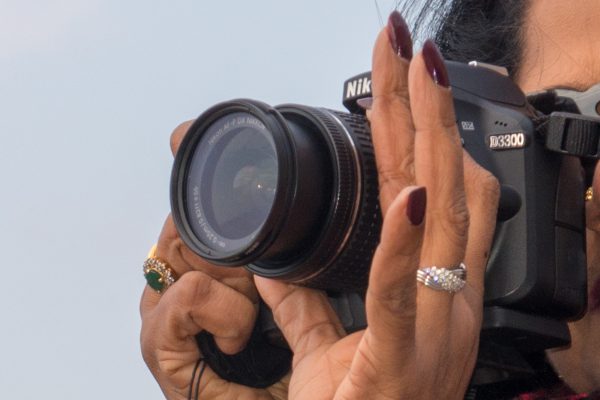
Let’s work with this picture:

All post-production work has to be done at 200%. It’s because 1:1 is not large enough to recognise all the small details we need to improve but a larger than 2:1 view results in a pixelated image.
Let’s explore a detail of this picture at 200% with Lightroom default settings of sharpening in the Develop module:

On the side menu, you will find these values (see the Amount and the Masking scale first):

When you start pulling up the Amount of the sharpening value, all the small points of the picture will become too crispy, like this:

The right method is to push up the Masking scale first to the maximum, then you can increase the Amount of the Sharpening effect as well:

Let’s compare side by side (and try to look at the image below from close):

The end result is quite obvious:

(One more thing: Press and keep pressed the Alt key when you start to push up the Masking scale to see and control the outline of the object to sharpen and do the same when working with the Amount of Sharpening.)
0 Comments
Leave A Comment