
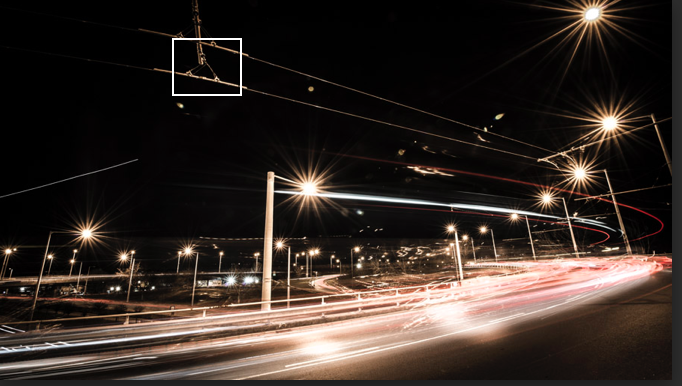
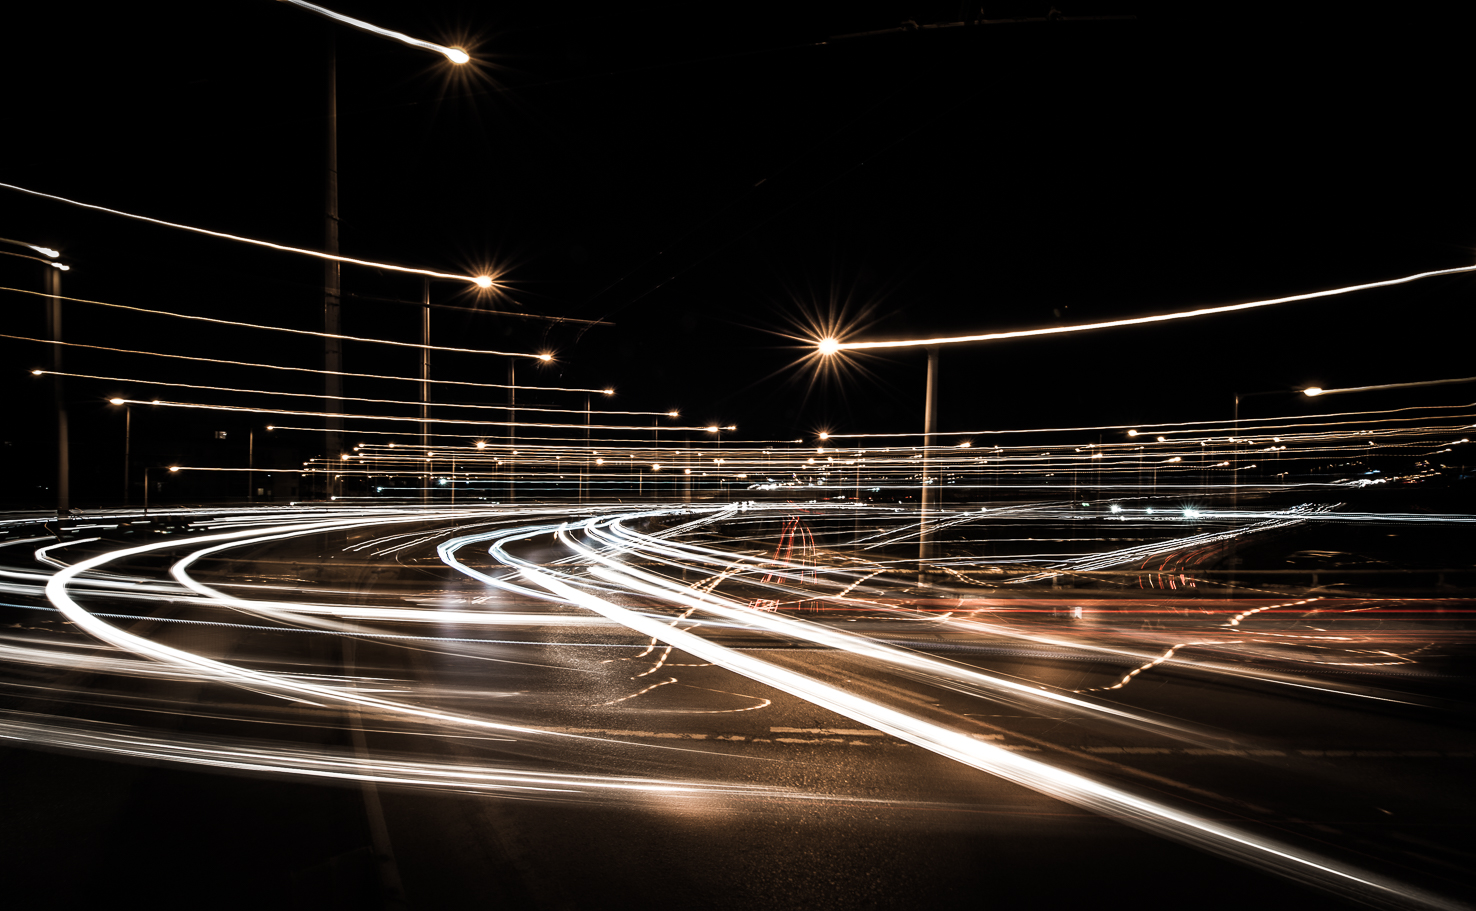
I promised to my guests of yesterday to create a post about how to take photos of light trails on a night photo session. Similar to this one:
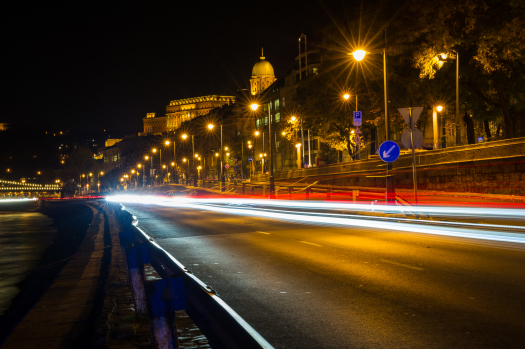
One of my former guests’ capture on the riverside
Let’s do it step by step:
1/ It’s a long exposure situation, so to avoid any unwanted camera shake, you will need a steady place to keep your camera still. It can be anything you find around you, the ground, a balustrade, or any other feature in the area. But of course only a tripod can give you the freedom to choose the right spot to compose your picture.
2/ For the same reason, you also have to avoid to touch the camera in the moment of the exposure. So as to achieve this, you must have a kind of remote control, like a wire trigger like this:
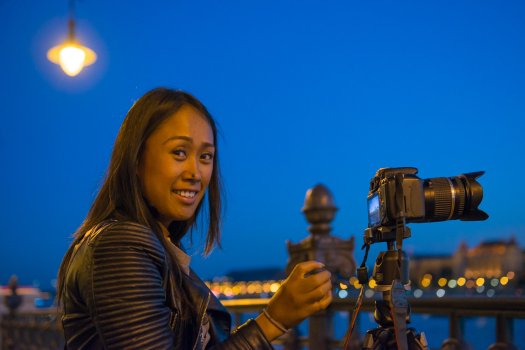
JP in action with a cable release on a night photo tour
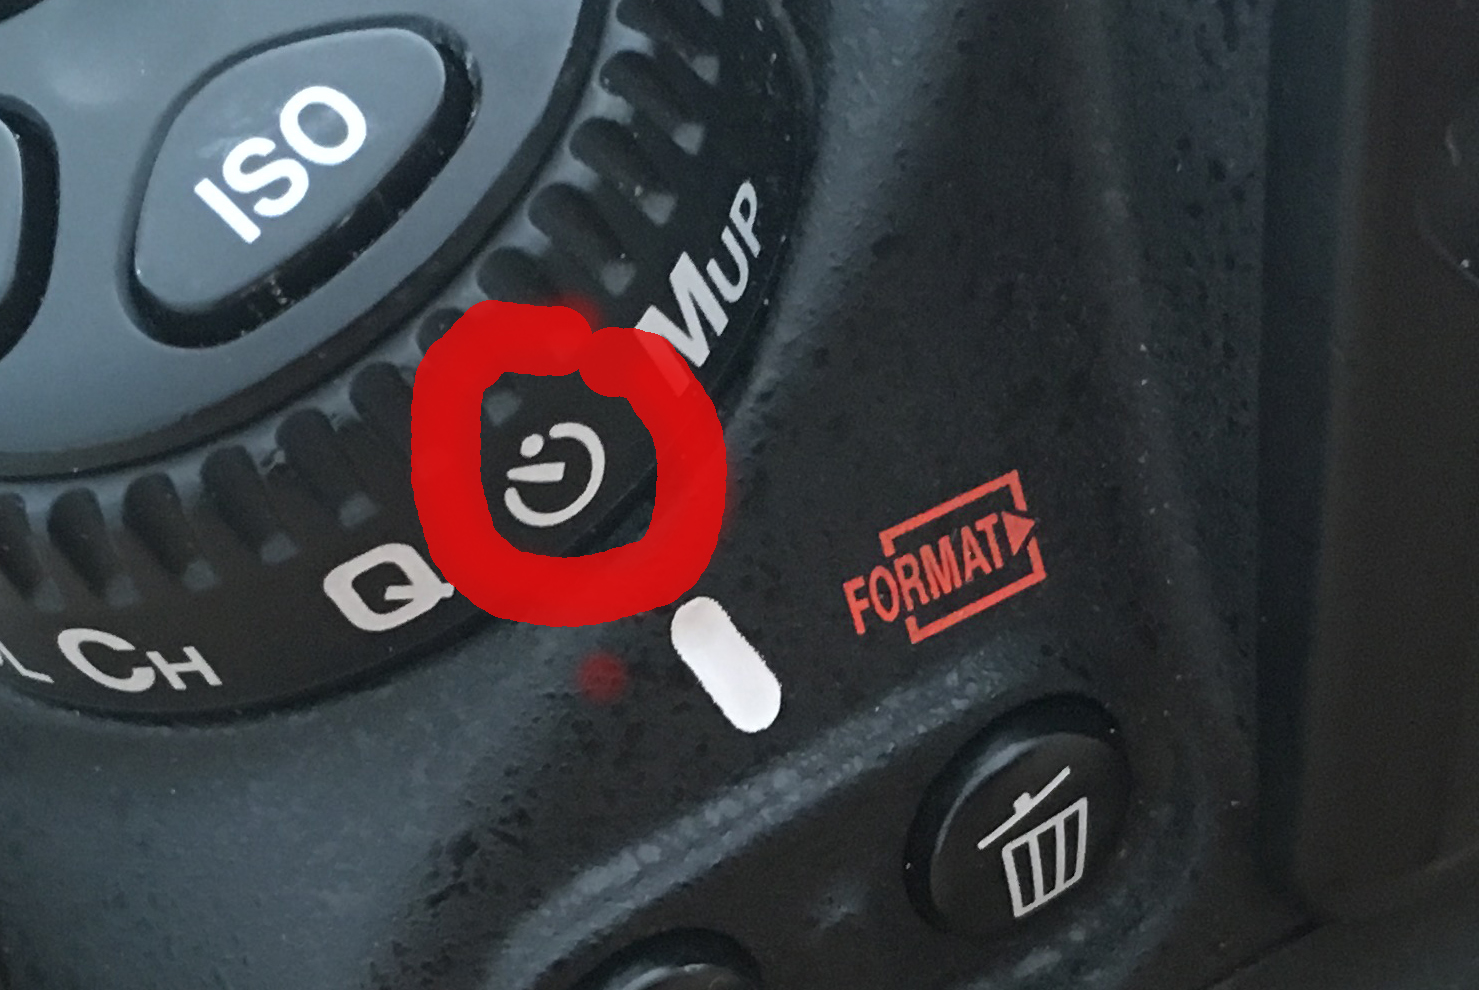
You can also choose a wireless solution, too. And the basic method is to discover the timer function on your camera. Pressing the shutter release, you give normally a 2-sec delay to the camera to take the exposure. Look for this icon:
3/ Switching on the live view, you can compose your picture then please, zoom into it to check the sharpness. This way:
If you need to correct, switch to manual focus mode and adjust the focus manually to get the maximum sharpness. Automatic focusing system of the camera can be fooled by the light conditions. When you finished with the focus check, you can switch off the live view to save your battery life. Live view and focusing eat a lot of battery.
And the settings:
4/ The camera being still, you can set the lowest ISO sensitivity on your camera to get the minimum noise and the best quality picture. The ideal would be ISO 100 but it can vary on different models.
5/ So as to achieve the maximum depth of field to keep the background sharp, choose an aperture of f/16. You may think that the smallest aperture which can be f/22 on many lenses will give you a better depth of field but in a night photo experience with ambient light it’s just not true. Please, keep the aperture at f/16 and leave the smallest aperture value for your macro photos with intense flash lights.
6/ Depending on the actual light conditions and the amount of the light trails you want to get, you would set the shutter speed somewhere between 15 and 25 seconds, sometimes even longer.
7/ If you find the background overexposed at this shutter speed, I mean you suffer from too much ambient light, you may have to purchase an ND (neutral density) filter to reduce the amount of light. This gives a flat grey to the picture without changing the colour balance.
And don’t forget that it’s about experiencing. Let me show you examples:
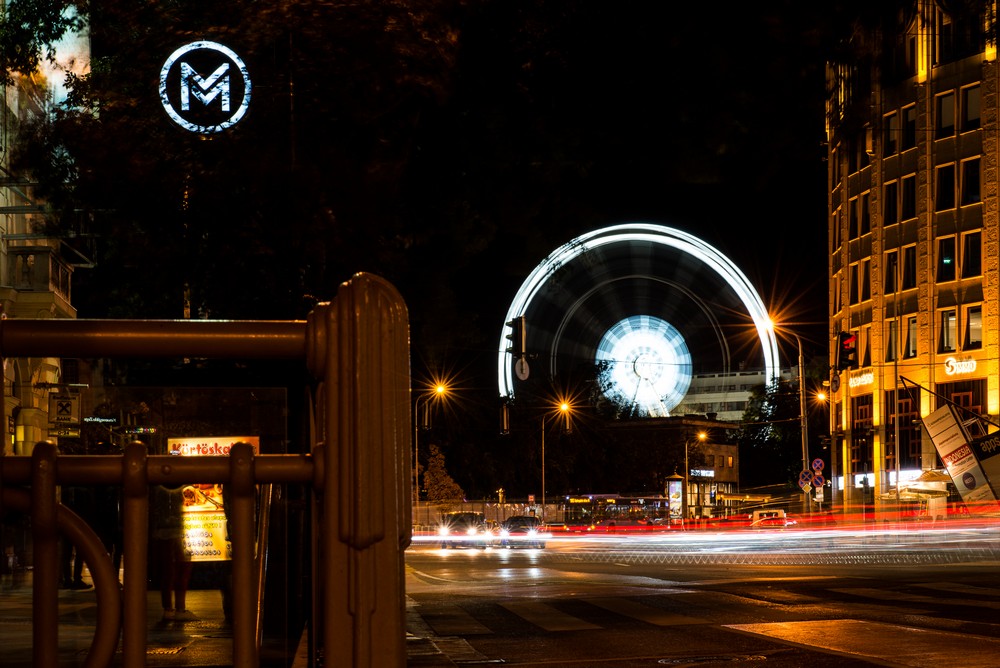
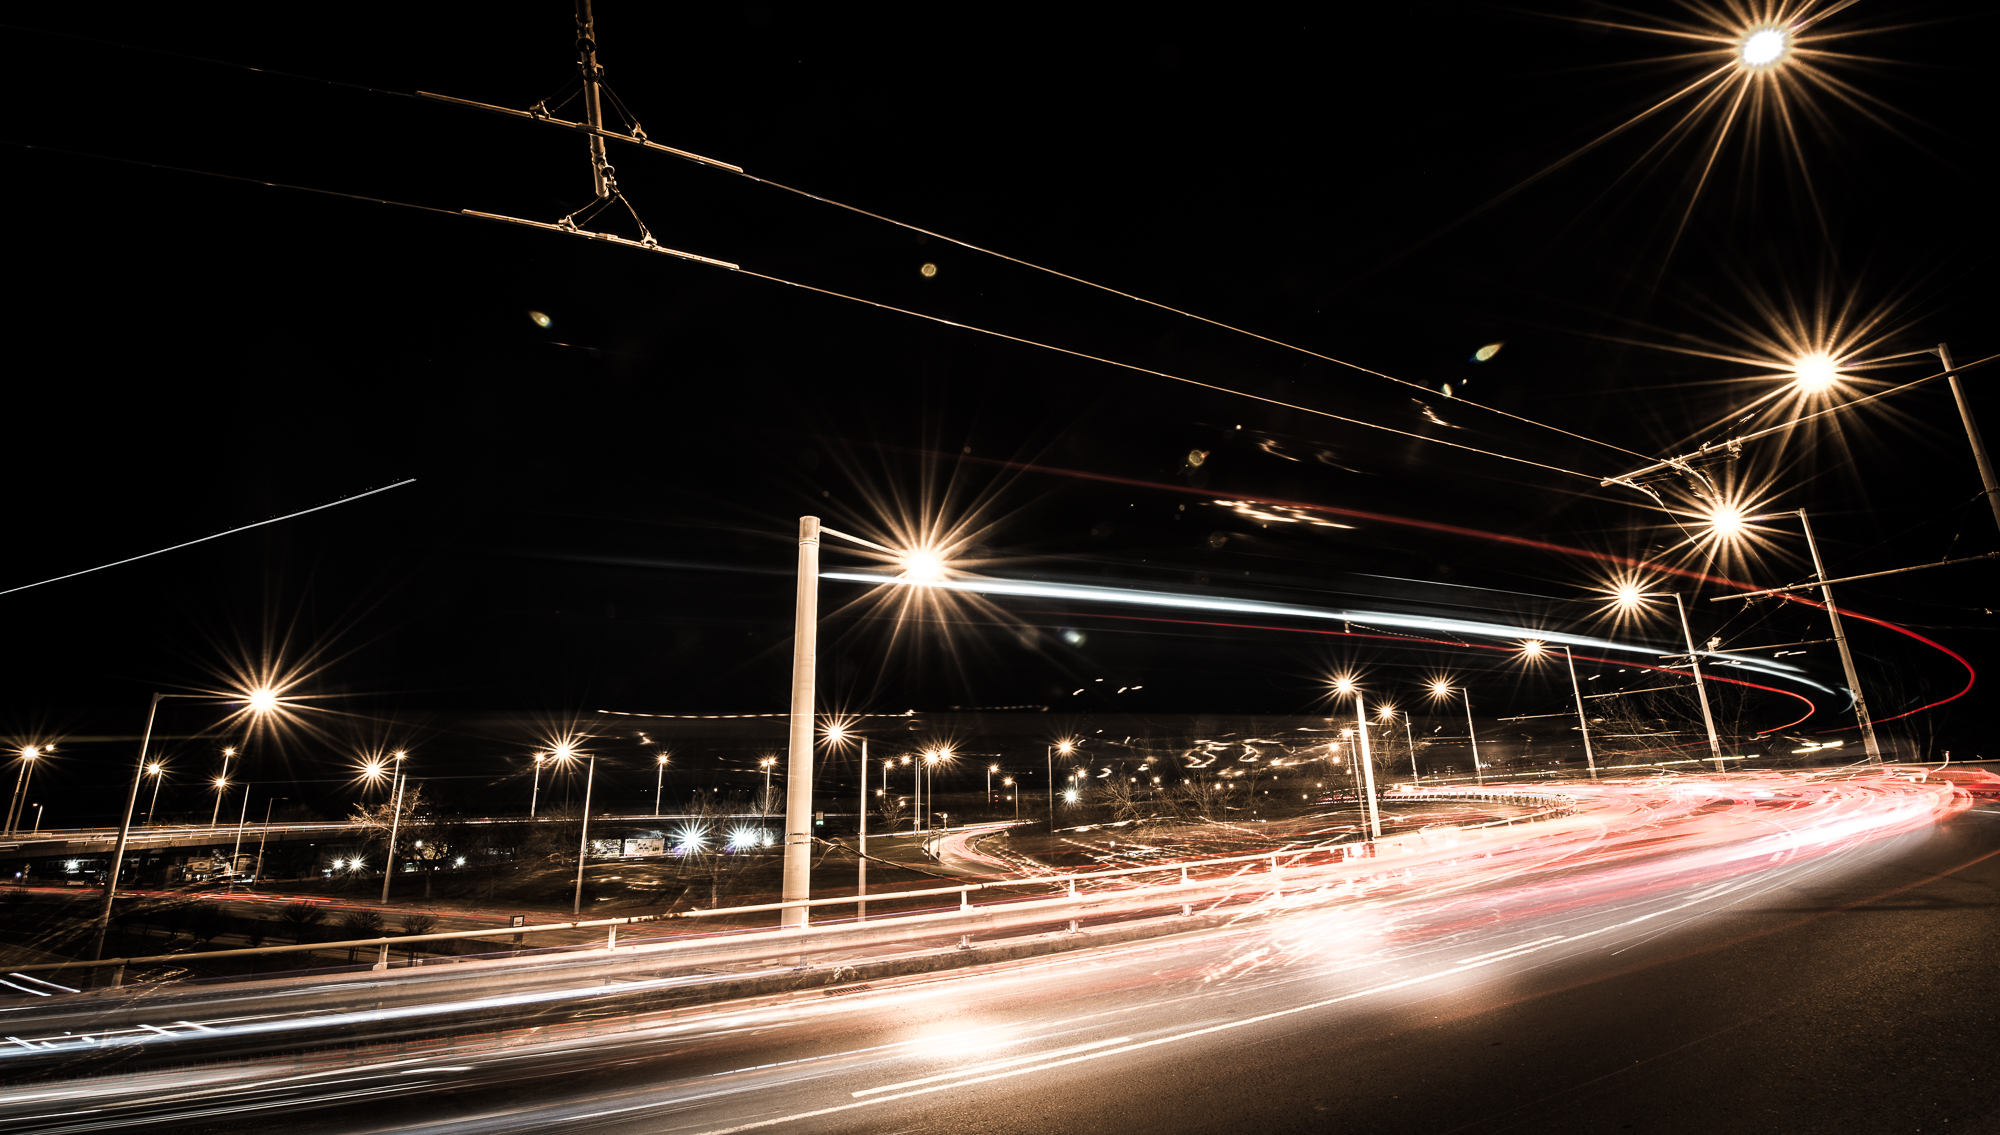
Light trails of the cars and Budapest Eye in movement
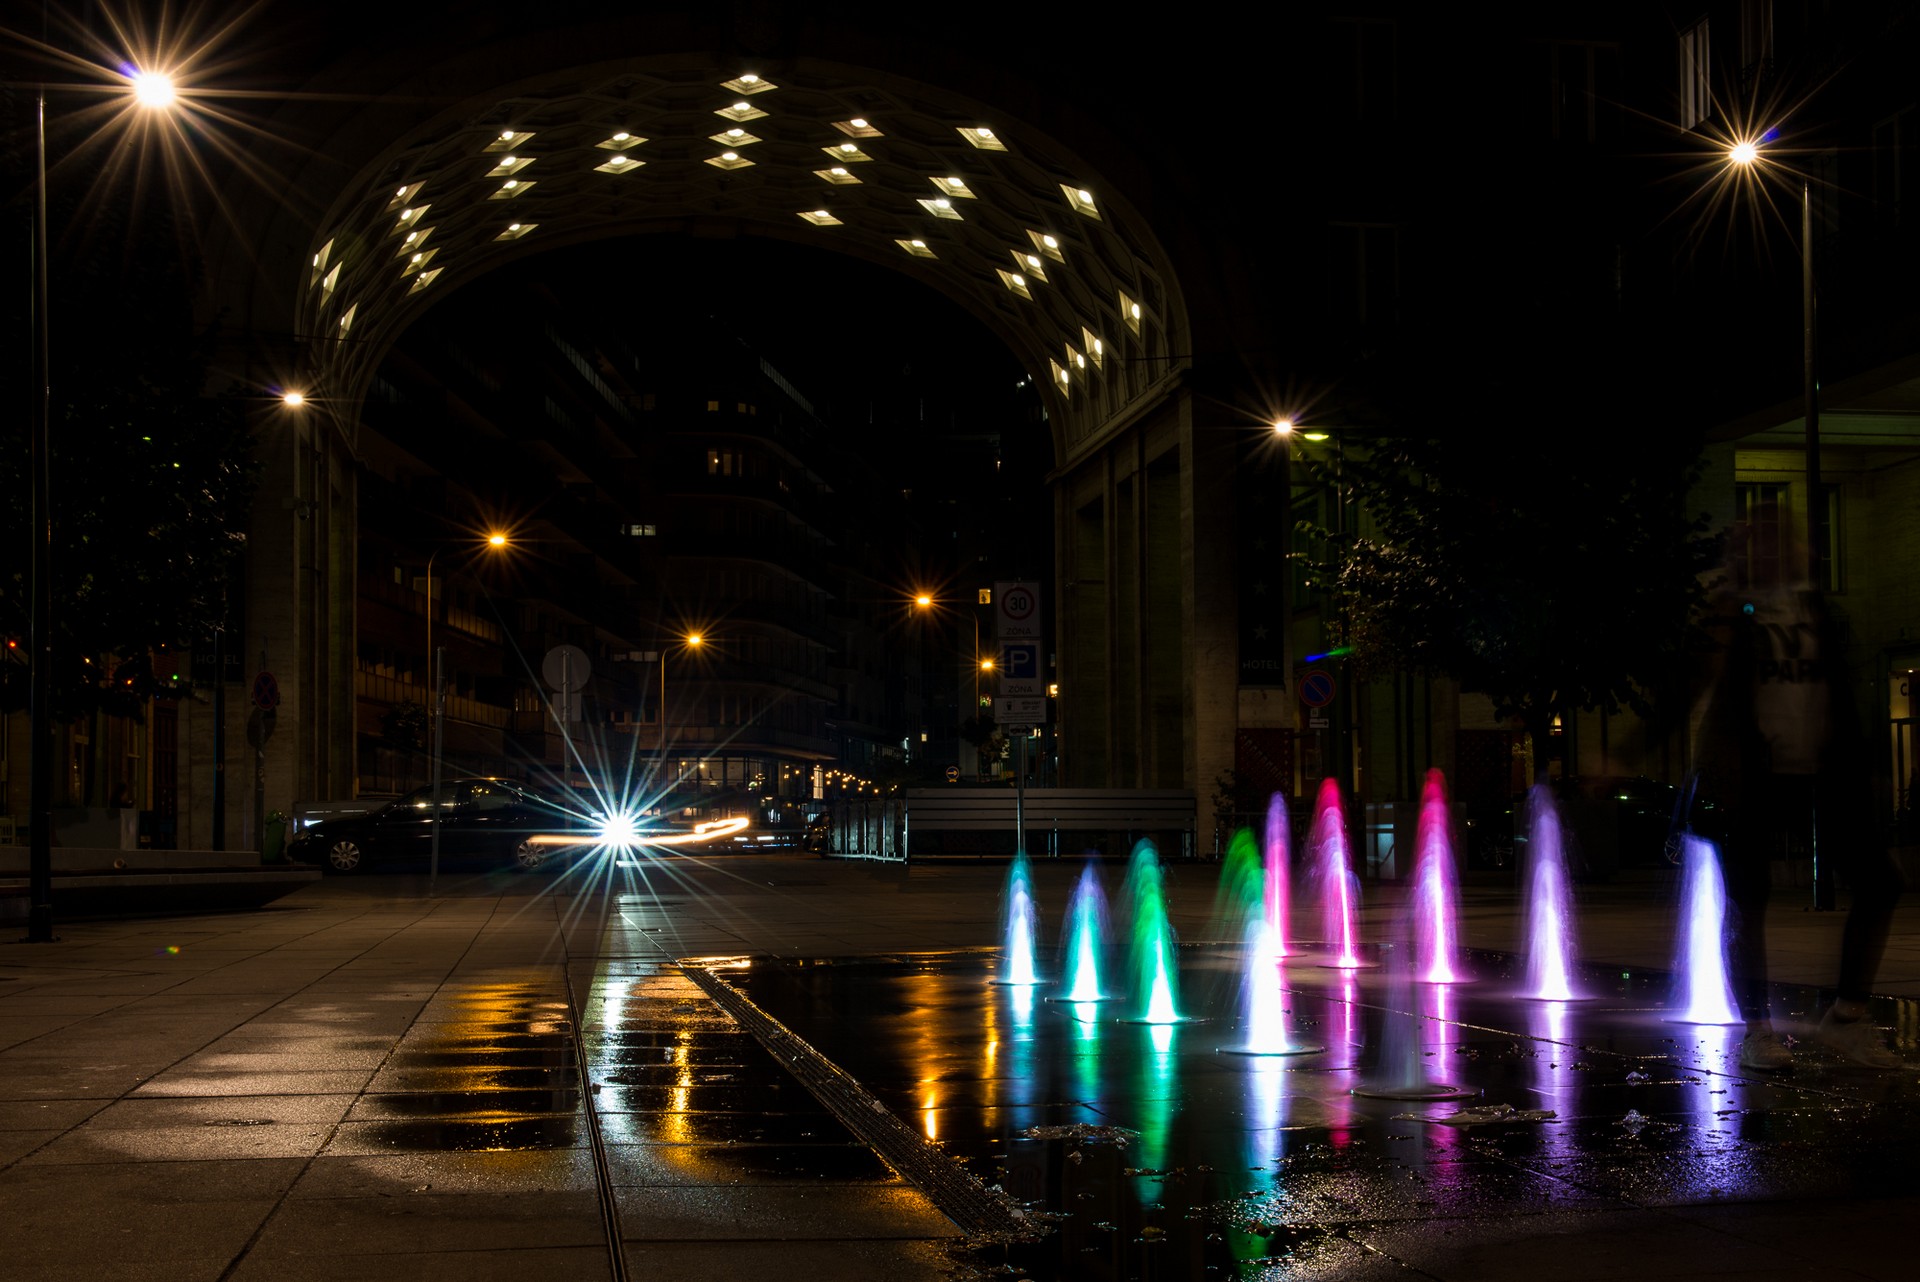
Springs and fountains are good subjects, too, especially in evening lights.
Go crazy. Move your camera on the tripod. This is a horizontal movement.
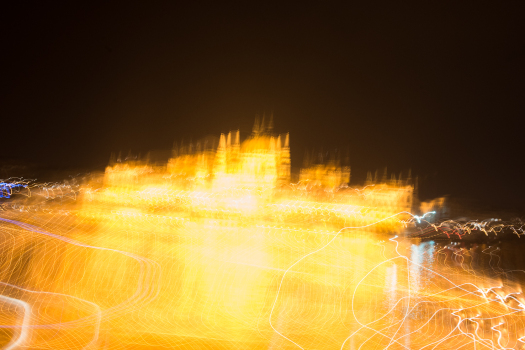
The building of the Parliament in a psychedelic dream. One of my guests’ picture.
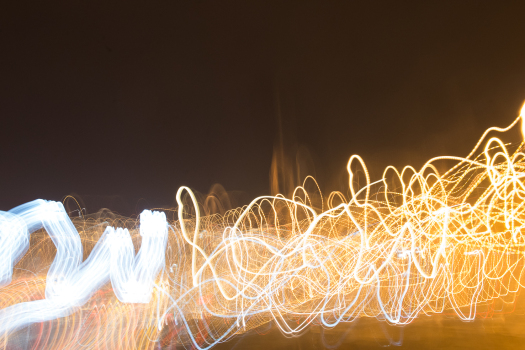
Even more crazy… where the Parliament has gone? One of my guests’ picture.
Ask questions. And practise. It’s fun.